Post Construction Cleaning Checklist: A Complete Guide
Your construction project finally coming to a close can be a very satisfying prospect. All you have left to do now is some cleaning! But oh no, you forgot! Or you're tired and don't want to go through all that.
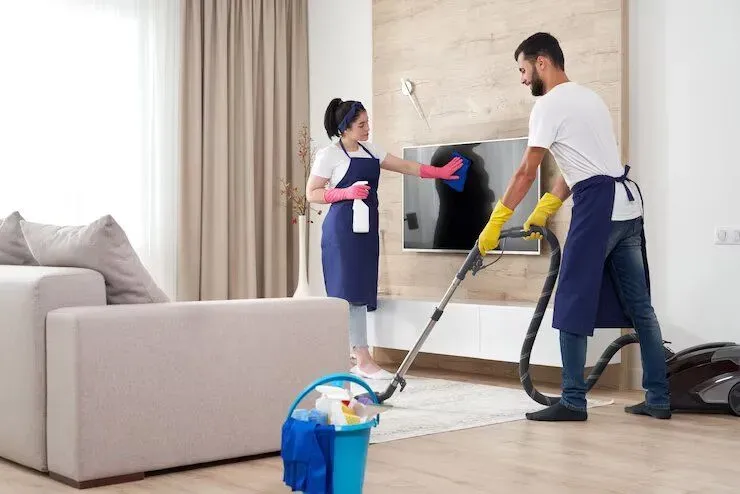
Post construction cleaning may seem like a big hassle but it is an important step to ensure your client is satisfied. No worries, we have compiled this handy cleaning checklist to help you speed through your cleaning time and ensure you cover everything that needs to be covered.
Alternatively, you could hire Happy Home Helpers to do the job for you! We promise to go above and beyond the requirements you’re looking for.
What is a Construction Cleaning Checklist?
A post construction cleaning checklist helps break down areas of the worksite into individual cleaning categories. It will also contain detailed explanations on how to clean a specific area and what tools to use.
Why is Post Construction Cleaning Important?
Cleaning is the last step for workers before the project is considered complete. Construction final cleaning is important for creating a functional and safe environment as well as just making the project look prettier and complete.
If you were to skip this step it would make for plenty of safety hazards, damages to surfaces and unhappy future occupants.Consider it an investment! It will ensure the usability and quality of your living space for the long term..
Preparation
Before getting all your tools out we would suggest first examining the space and taking a note of any areas that require extra attention. Often after the construction has completed there is leftover junk from the process such as nails, screws, and wood chips. You want to remove any such lingering trash away with a broom or by hand whichever is your preference.
Fix any light closures, switches or any sharp edges that need to be fixed also ensure that everything is in working condition. Then take out your cleaning tools and get down to business!
Bedroom Cleaning checklist
1. Dusting light fixtures and ceiling fans
Begin the process by turning off the fixture and then grab a microfiber cloth. Wipe the surfaces clean thoroughly and if you have trouble getting into the nooks and crannies use a soft-bristle brush or an extendable duster. If there are any glass shades on the fixtures remove them and simply give it a wash in soapy water.
Same with fans, you want to first turn them off and then clean the blades using a feather duster. For any lingering dust or residue use a damp cloth to wipe away the clumps. Give it a once over to ensure it's in proper working order and then put everything back.
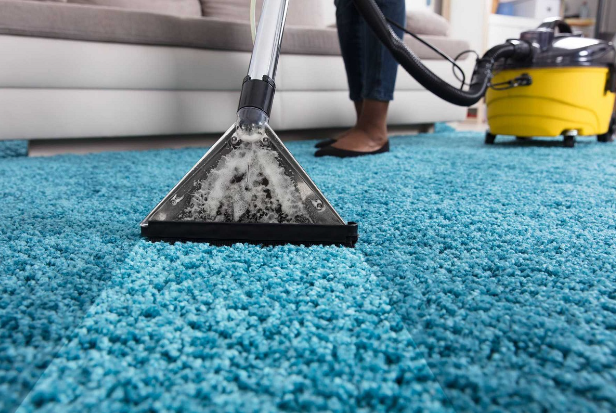
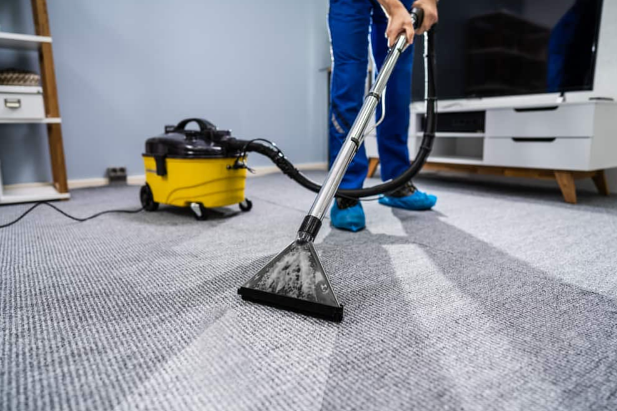
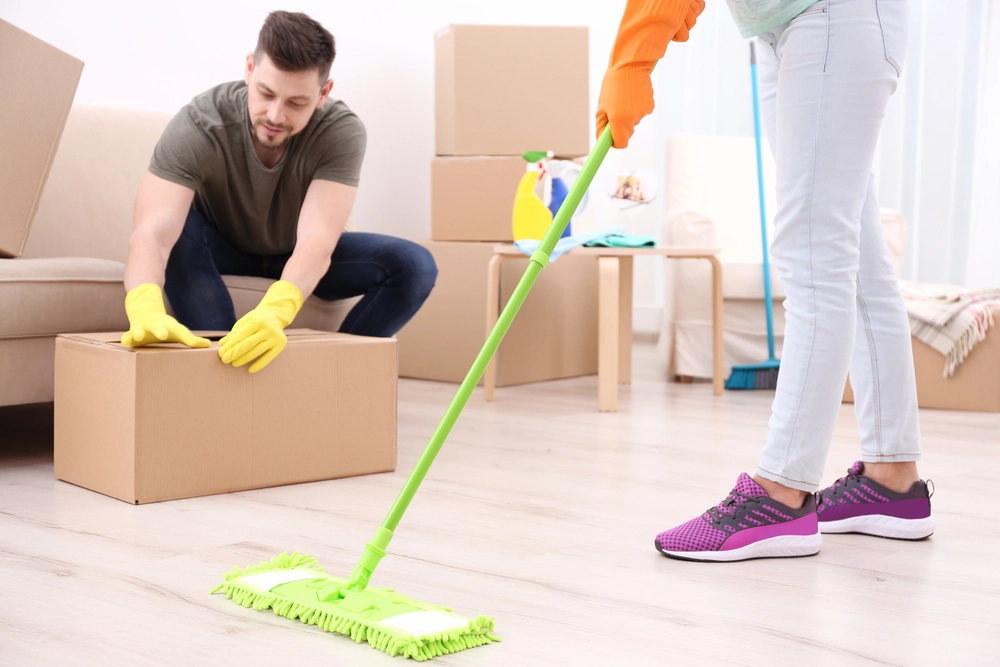
2. Wiping down the floor
Of course your first step would be to clean the dust off with a broom and vacuum. Then use a mop with a cleaning detergent (any, as long as it's suitable) make sure to clean
thoroughly and go over any hard to get rid of spots. You can also go back and spot clean any particularly stubborn stains using the appropriate detergent. Make sure to have proper ventilation! The floor needs to dry.
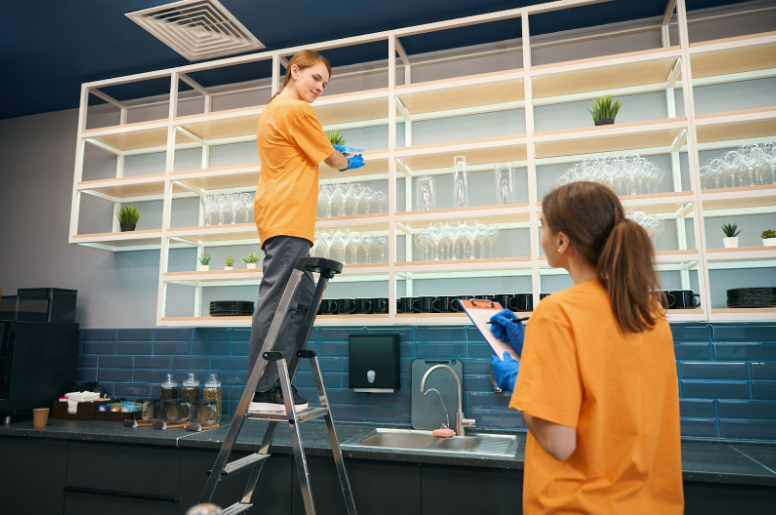
3. Dusting built-in shelving units
Start from top to bottom! Wipe the horizontal surfaces using a microfiber cloth, use a feather duster for all the vertical spaces. If any stains remain, address them accordingly and use a vacuum with the brush attachment for gaps.
4. Dusting grates and vents
This is needed for best air quality , do not forget it! A vacuum will come in handy for this one. Use the brush extension on your vacuum to remove dust and debris. Then use a microfiber or a simple damp cloth to fully wipe clean the surfaces.
5. Removing paint from hinges
Easy and straightforward, soak a cloth in acetone or just any paint thinner and gently wipe down the surface. Make sure you do it carefully so as to not damage the finish underneath.
You're now done with the bedroom! Now we move on to any living spaces that the worksite has like the living and dining.
Cleaning Checklist: Living spaces
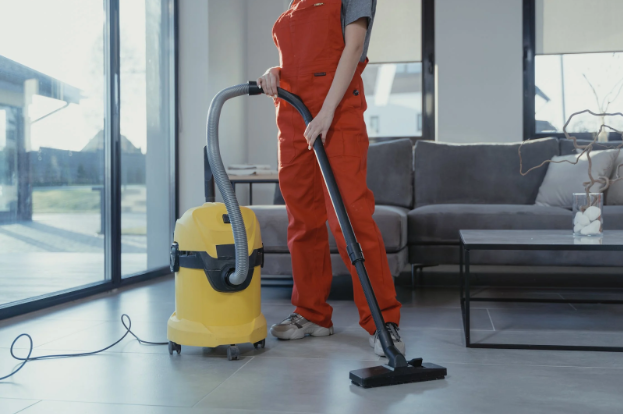
1. Cleaning the Floors, Walls and Ceilings
Again, you wanna go from top to bottom to avoid having to redo surfaces. A vacuum cleaner should do the job well enough, use the HEPA filter in your vacuum to get rid of any debris or dust or you can use a broom if you want. Just make sure to vacuum hard to reach places and the corners.
2. Cleaning the surfaces
Rinse and repeat the same process as the bedrooms over here, use a microfiber cloth or a damp cloth to wipe down the surfaces.
3. Light fixtures, Ceiling fans, Air ducts and Vents
Again, the process is the same as the one you applied in the bedrooms, make sure to vacuum thoroughly!
That is the living space all done! This was simple and easy, just a repeat of what we already covered for the bedroom. Moving on, next is the Kitchen.
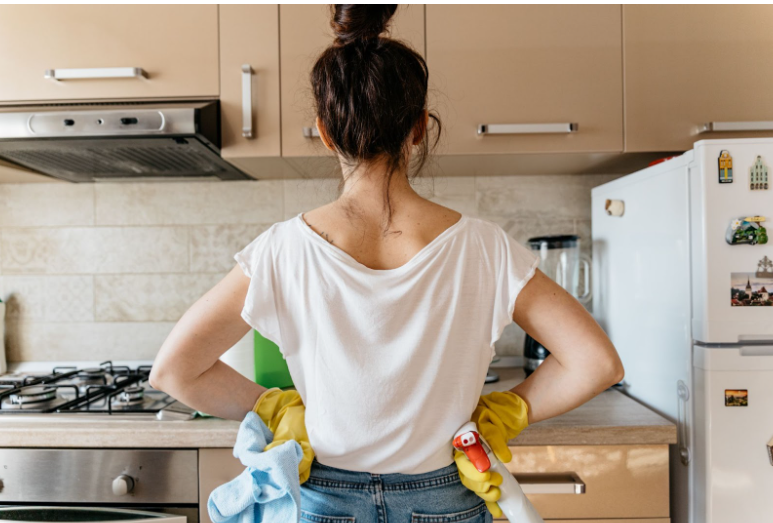
Cleaning Checklist: Kitchen
1. Remove marks or paint stains from walls and baseboards
Use soapy water or a mixture of vinegar and water. Apply the mixture to your cloth and gently wipe down the problem areas. Then wipe it clean with a dry microfiber cloth. Sometimes the solution may not work so well with the applied paint so just as a precaution you should first try it in an inconspicuous spot.
2. Cleaning surfaces
First you want to disinfect any surfaces where food will be handled by spraying on an all-purpose cleaner or a mixture of equal parts water and vinegar. Then use a microfiber cloth to wipe down down the surfaces, countertops and appliances (if any)
3. Clean the sink and the stovetop
Using a degreaser you want to wipe down all the surfaces and the inside of the sink. If you want you can also use the mixture of vinegar and water. Use a sponge or a brush to scrub the sink thoroughly and a cloth for the stovetop. Keep an eye out for any remaining residue that will take a bit harder to scrub off completely.
4. Cabinets and drawers
Use a damp or microfiber cloth to wipe down all the surfaces. You can use a feather duster to get in the corners, make sure to be thorough!
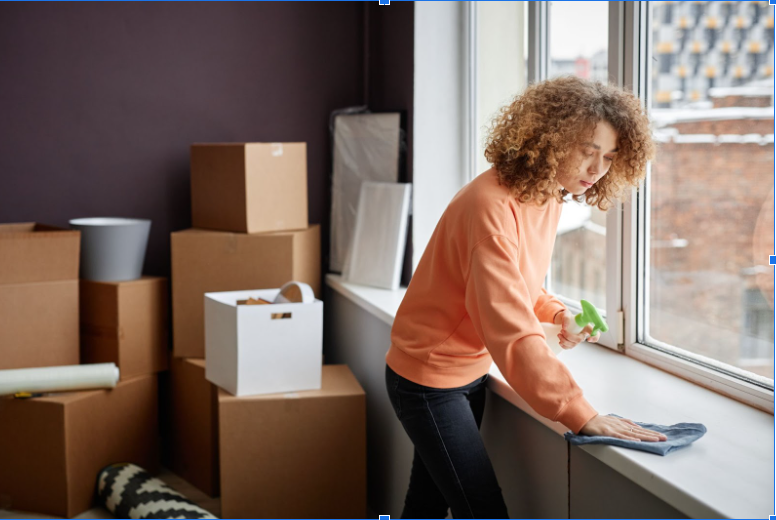
5. Clean windows and glass surfaces
For this you'll need a window cleaner or the vinegar and water mixture. Spray the solution on the glass and wipe it clean with a lint free cloth or paper towel. To avoid leaving streaks, pay attention to the corners and edges.
6. Doorknobs and door frames
Using a microfiber cloth and soapy detergent or vinegar and water mixture, once again wipe down all surfaces and be very strict for the door frames! They easily accumulate dust and you want to clean all the crevices. If you wish you can also use a disinfectant to disinfect the doorknob. Make sure to wipe everything dry for proper finish.
7. Polish stainless steel surfaces
You will need a stainless steel cleaner or again the vinegar and water mixture. Apply the solution using a soft cloth and then wipe it away. You should get a polished steel finish!
Clean and disinfect exhaust fans, filters and ventilation grills. Remove all trash,Clean light fixtures
Cleaning Checklist: Bathrooms
1. Sink cleaning
Using a mild soapy detergent scrub the sink thoroughly with a sponge or a brush, it would also be well advised to sanitize it using a commercial disinfectant. Alternatively you can make a disinfectant by mixing a small amount of bleach and water, remember to let in ventilation when working with bleach! Rise off the solution and ensure a dry finish.
2. Bathtub, Shower Walls and Glass Doors
For the glass doors you will be using a glass cleaning solution. Spray it on and then wipe off using a lint free cloth or paper towel. Shower walls and bathtub should be fairly simple, use a bathroom cleaner and a non abrasive sponge or brush to wipe the surfaces clean.
3. Toilet Cleaning
For post construction cleaning of toilets use a toilet bowl cleaner to first wipe down the inside of the bowl. Then use a bathroom, a cleaning solution or disinfectant to wipe down the outside of the toilet. You want to pay close attention to the flush handle. For a polished finish wipe it dry and you're done!
Of course you will be repeating some of the same processes here so make sure you've covered window cleaning, mopped the floor, cleaned the door and doorframe as well as light switches and shelves.
And that's it! You made it! Everything is now clean, polished and ready for anyone looking to move in.
Too Tired To Do It Yourself? We're Here To Save The Day! Contact Happy Home Helpers Now for Fast and Efficient Post Construction Clean Up
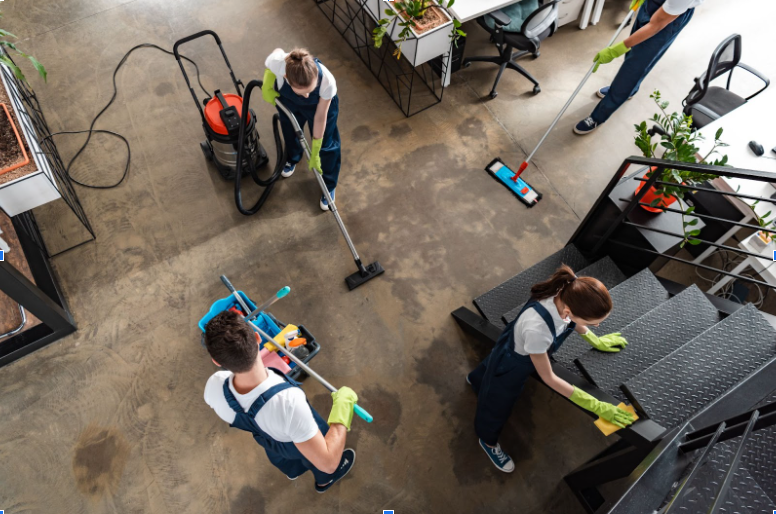
Post-construction cleaning can be extensive and time consuming. After a project is brought to completion all you want to do is simply move on to the next phase or project. But of course it wouldn't be complete without some final cleaning.
So you start looking for professionals.‘Post construction cleaning services near me’ becomes a staple on your search bar and you're exhausted looking for the perfect fit. Well look
no more! Happy home helpers offer a wide variety of cleaning services and we aim to satisfy our customers to the fullest!
Our team of experienced cleaners should make quick work of all your troubles. We make sure to check every nook and cranny for the slightest speck of dirt. It should take us just 4 to 8 hours to thoroughly vacuum, wipe and restore your worksite into a shining new property. We will clean ceiling fans, electrical sockets as well as any appliances with sure precision and efficiency. And you can rest easy now that the cleaning is in capable hands.
To request your first quote for a post construction cleaning service click this link, and allow happy helpers to help you bring your construction project to completion.